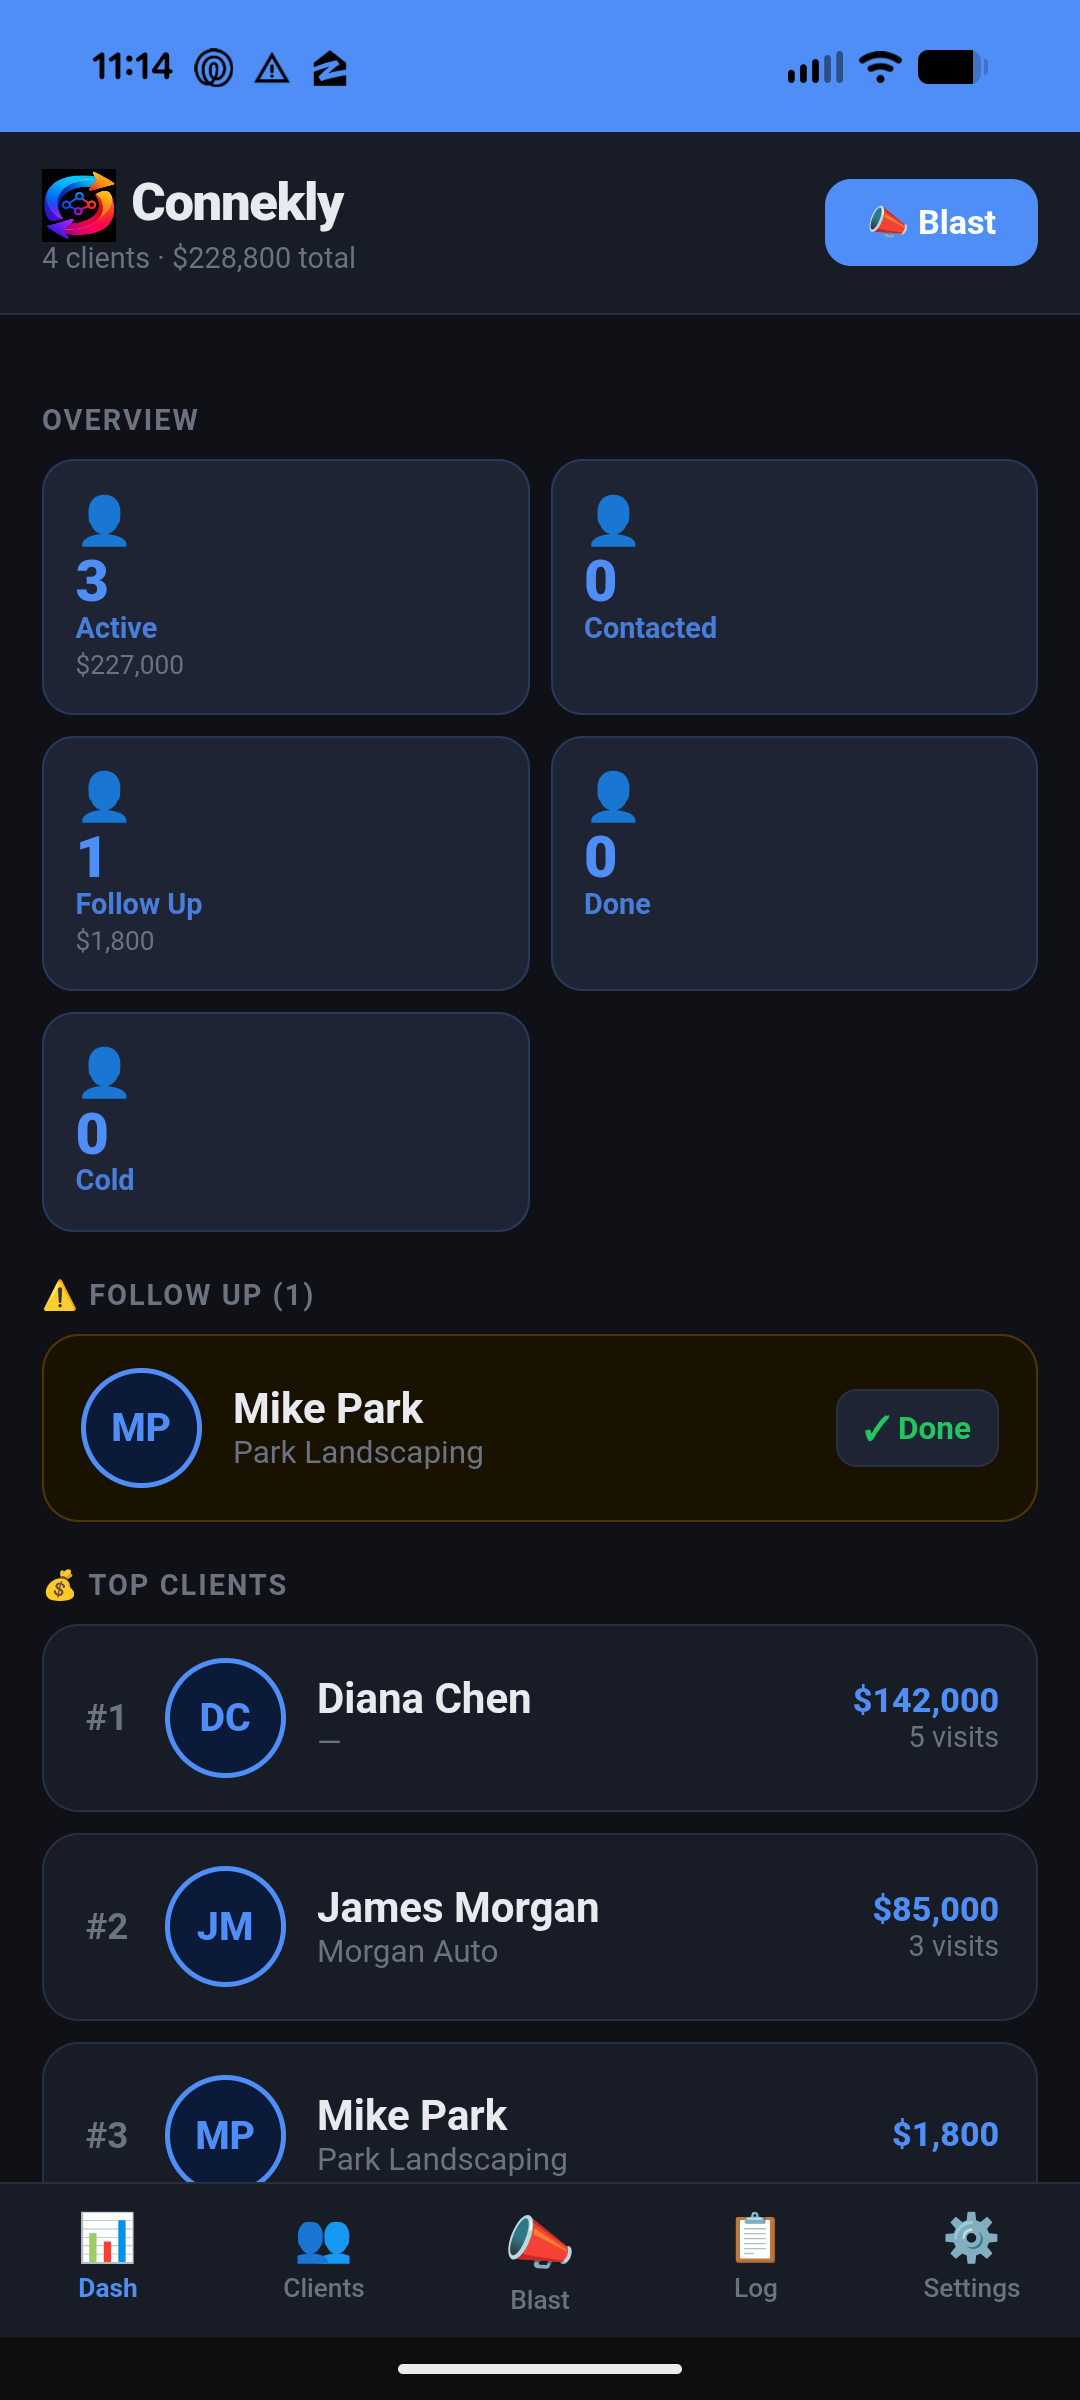
The Dashboard is the first screen you see when you open Connekly. It gives you a real-time snapshot of your entire client base — no digging required.
→
Client count & total revenue — shown at the top so you always know your book's size and lifetime value.
→
Tier breakdown — how many clients are Bronze, Silver, Gold, and Elite based on their total spend.
→
Follow-ups due — contacts flagged for follow-up, sorted overdue → today → upcoming. Tap 📅 Add to save it to your calendar, or ✓ Done to clear it.
→
Birthday reminders — if a client has a birthday set, Connekly auto-adds a follow-up 7 days before so you never miss it.
→
Top clients — your highest spenders ranked by total revenue.
Tip: Tap any client card on the Dashboard to open their full profile instantly.
2
Browsing & Filtering Your Clients
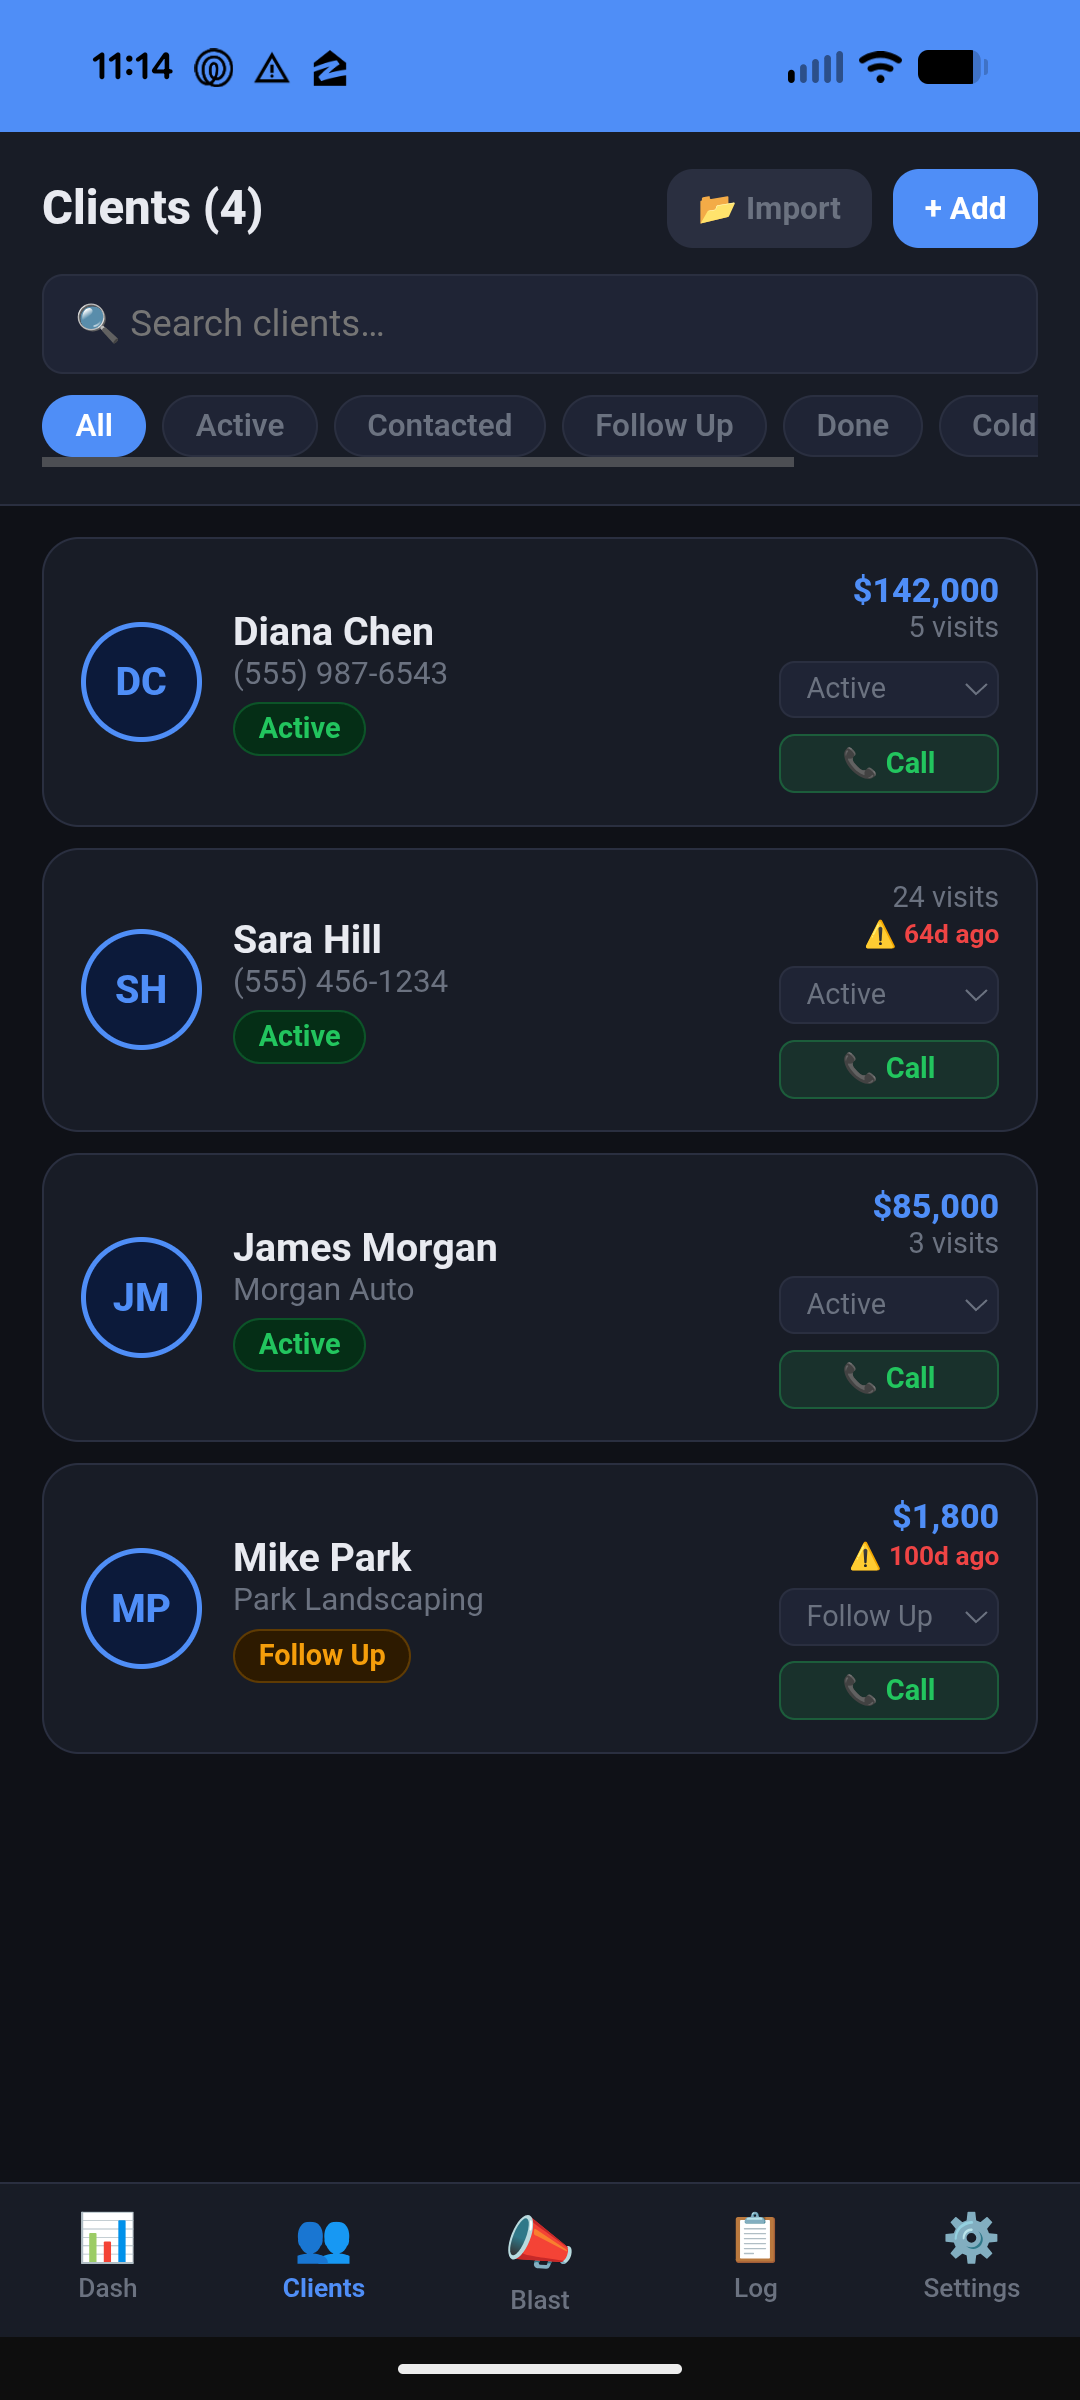
The Clients screen shows your full roster. Use the filter tabs to focus on exactly who you need to reach right now.
→
Search bar — type a name, phone, or email to find anyone instantly.
→
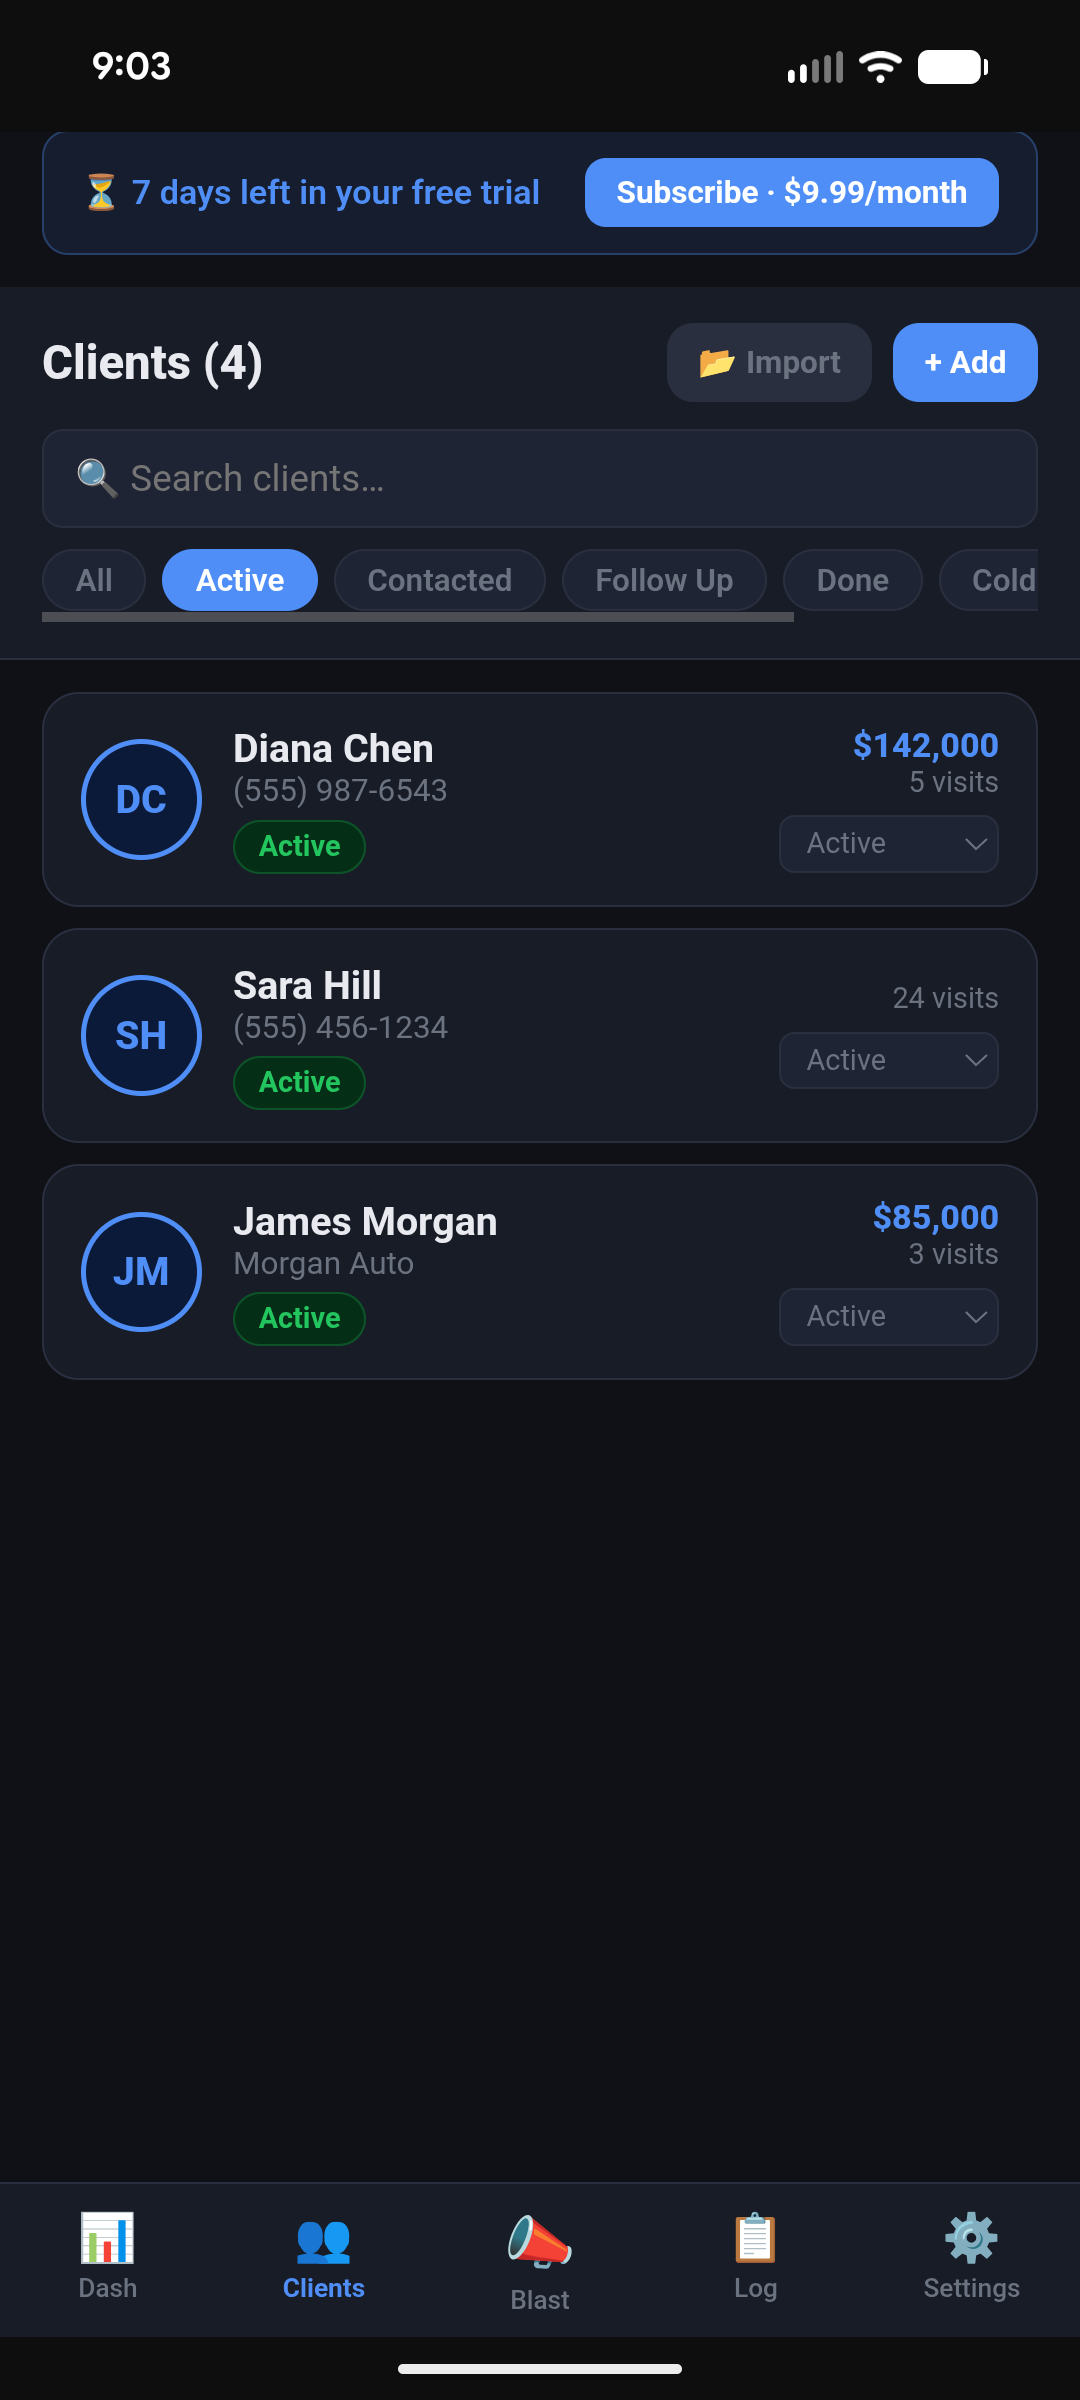
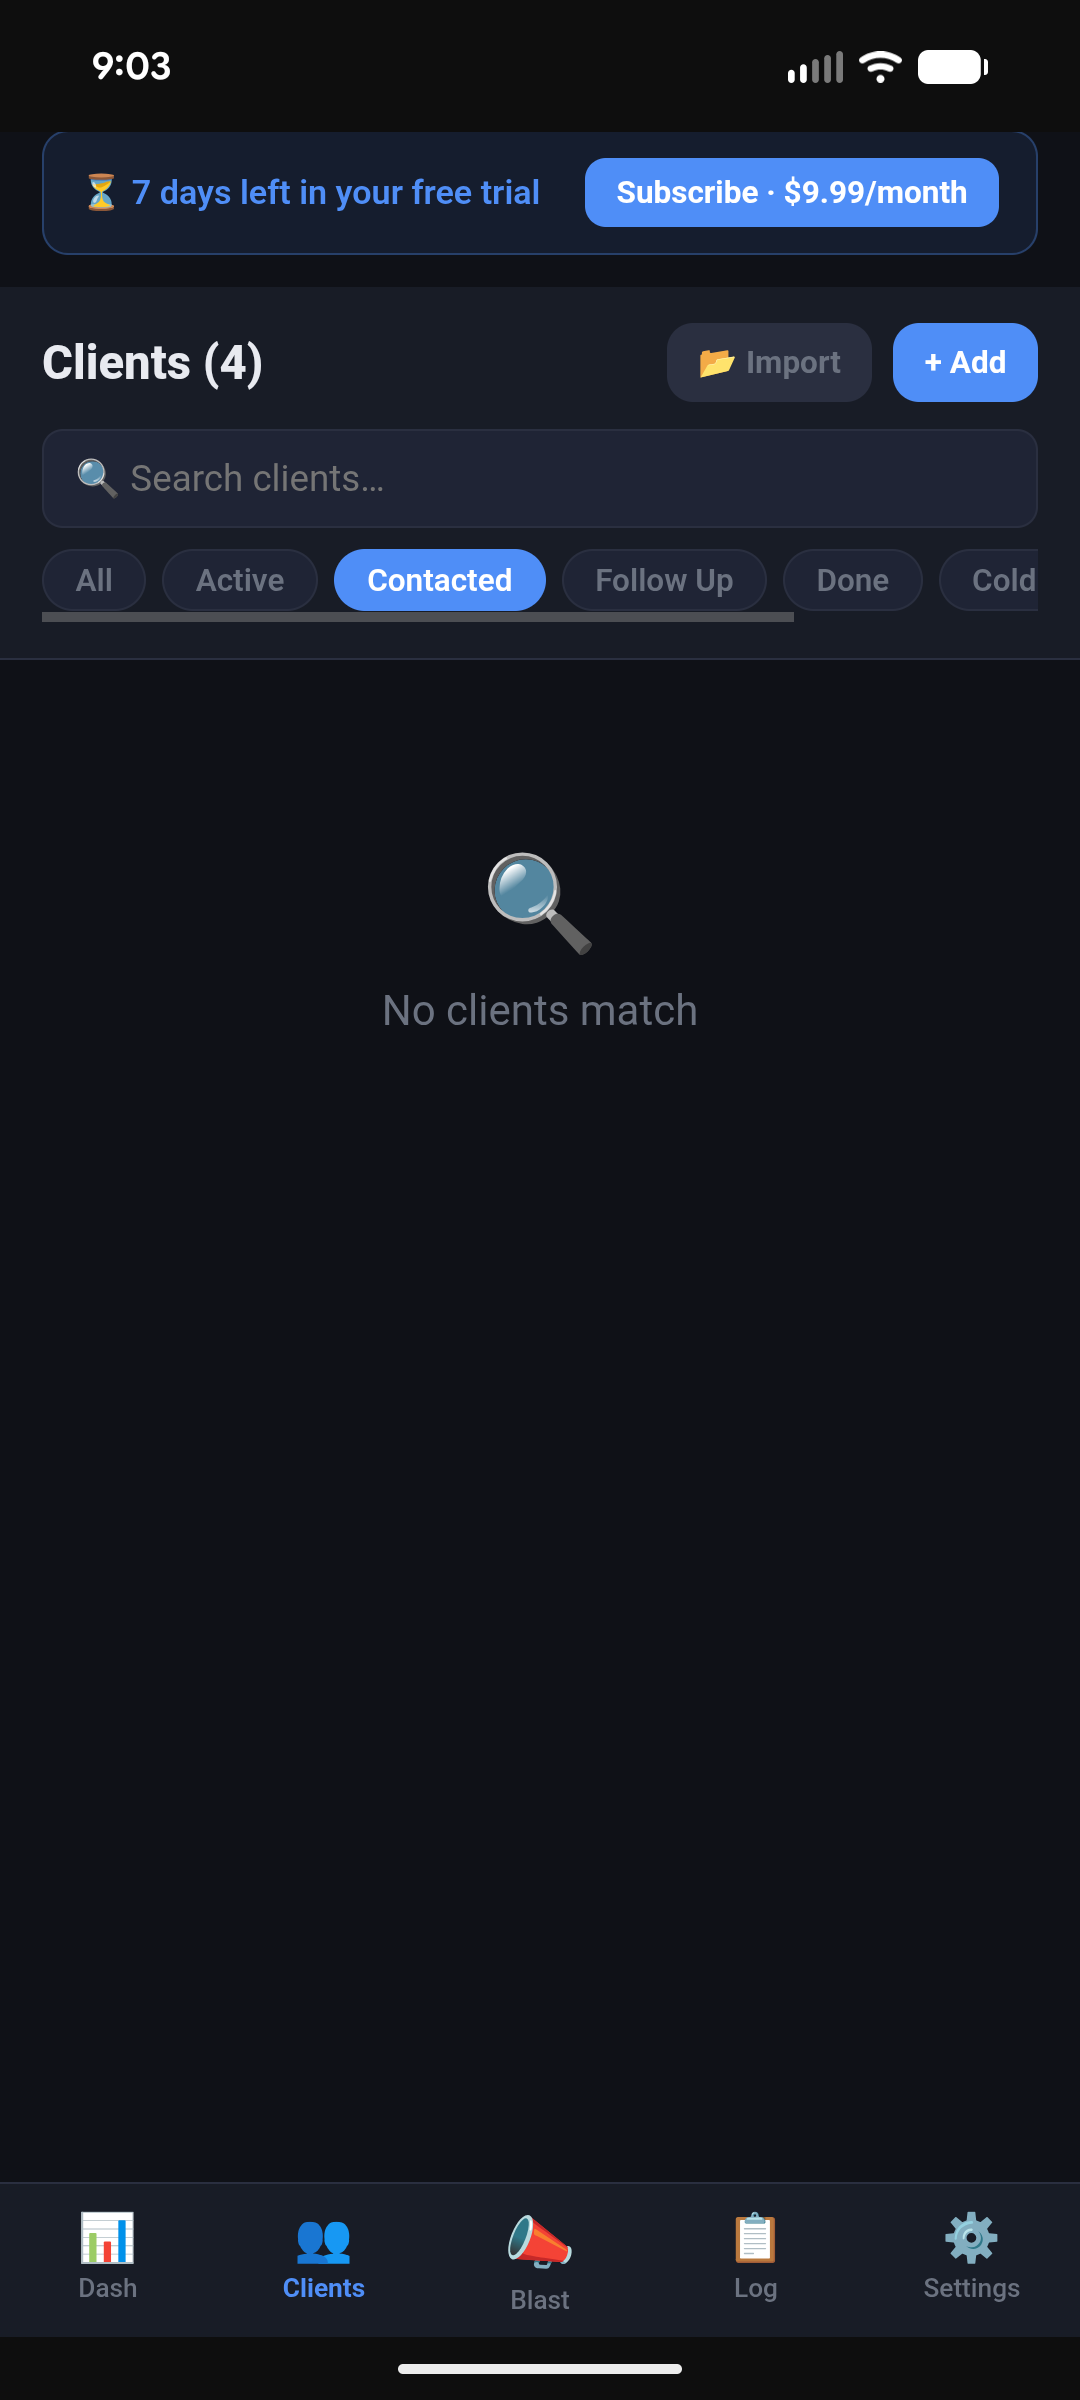
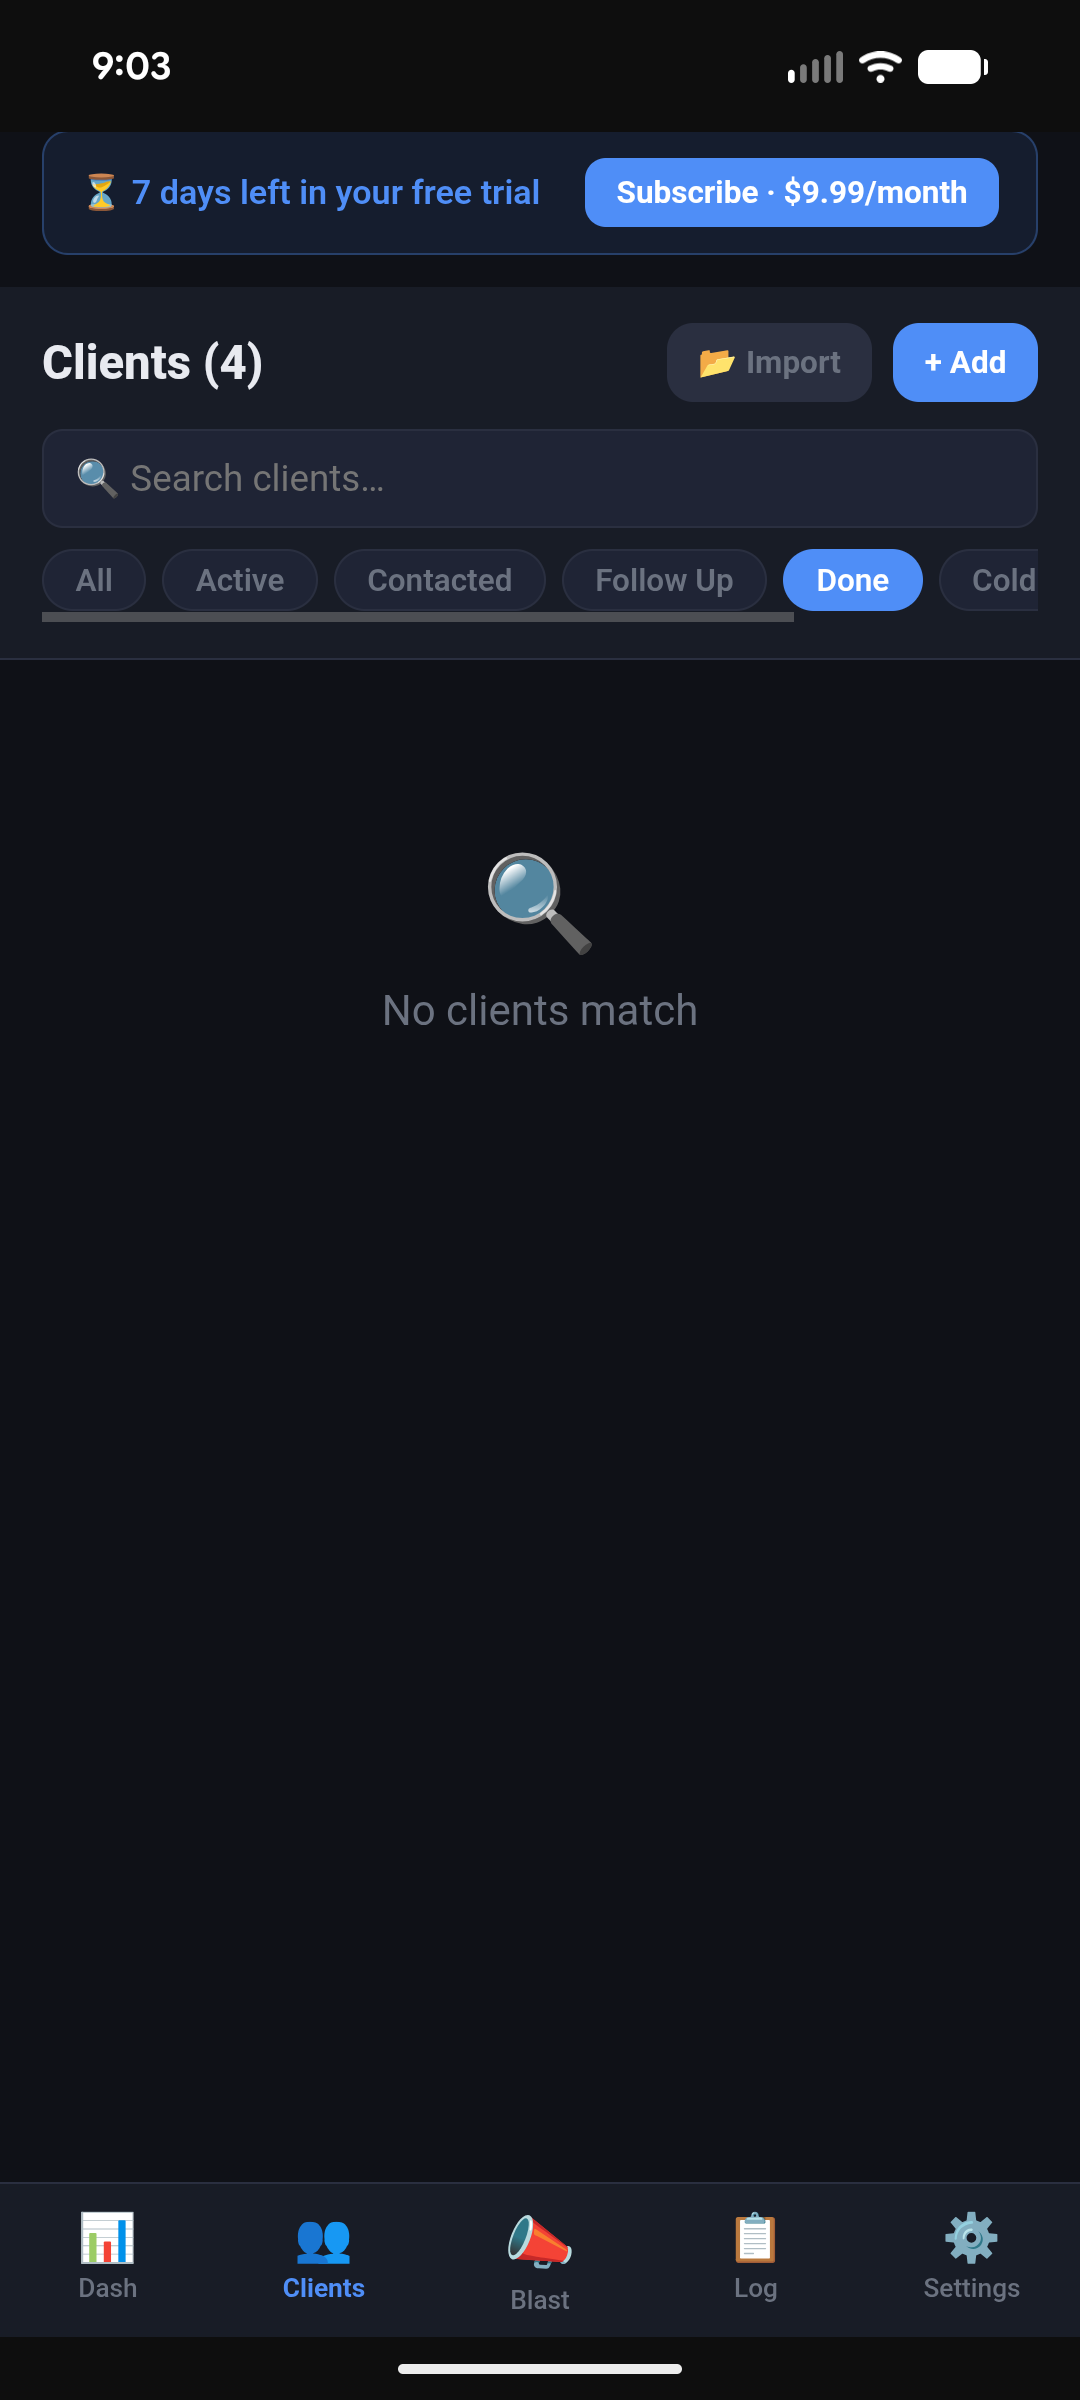
Filter tabs:All · Active · Contacted · Follow Up · Done · Cold — tap to show only clients in that status.
→
Sort — sort by name, spend, or last visit to prioritize your outreach.
→
📞 Call button — tap the green Call button on any card to dial directly without opening their profile.
→
⚠️ Last contacted warning — a red badge appears on any client you haven't touched in 30+ days so no one slips through the cracks.
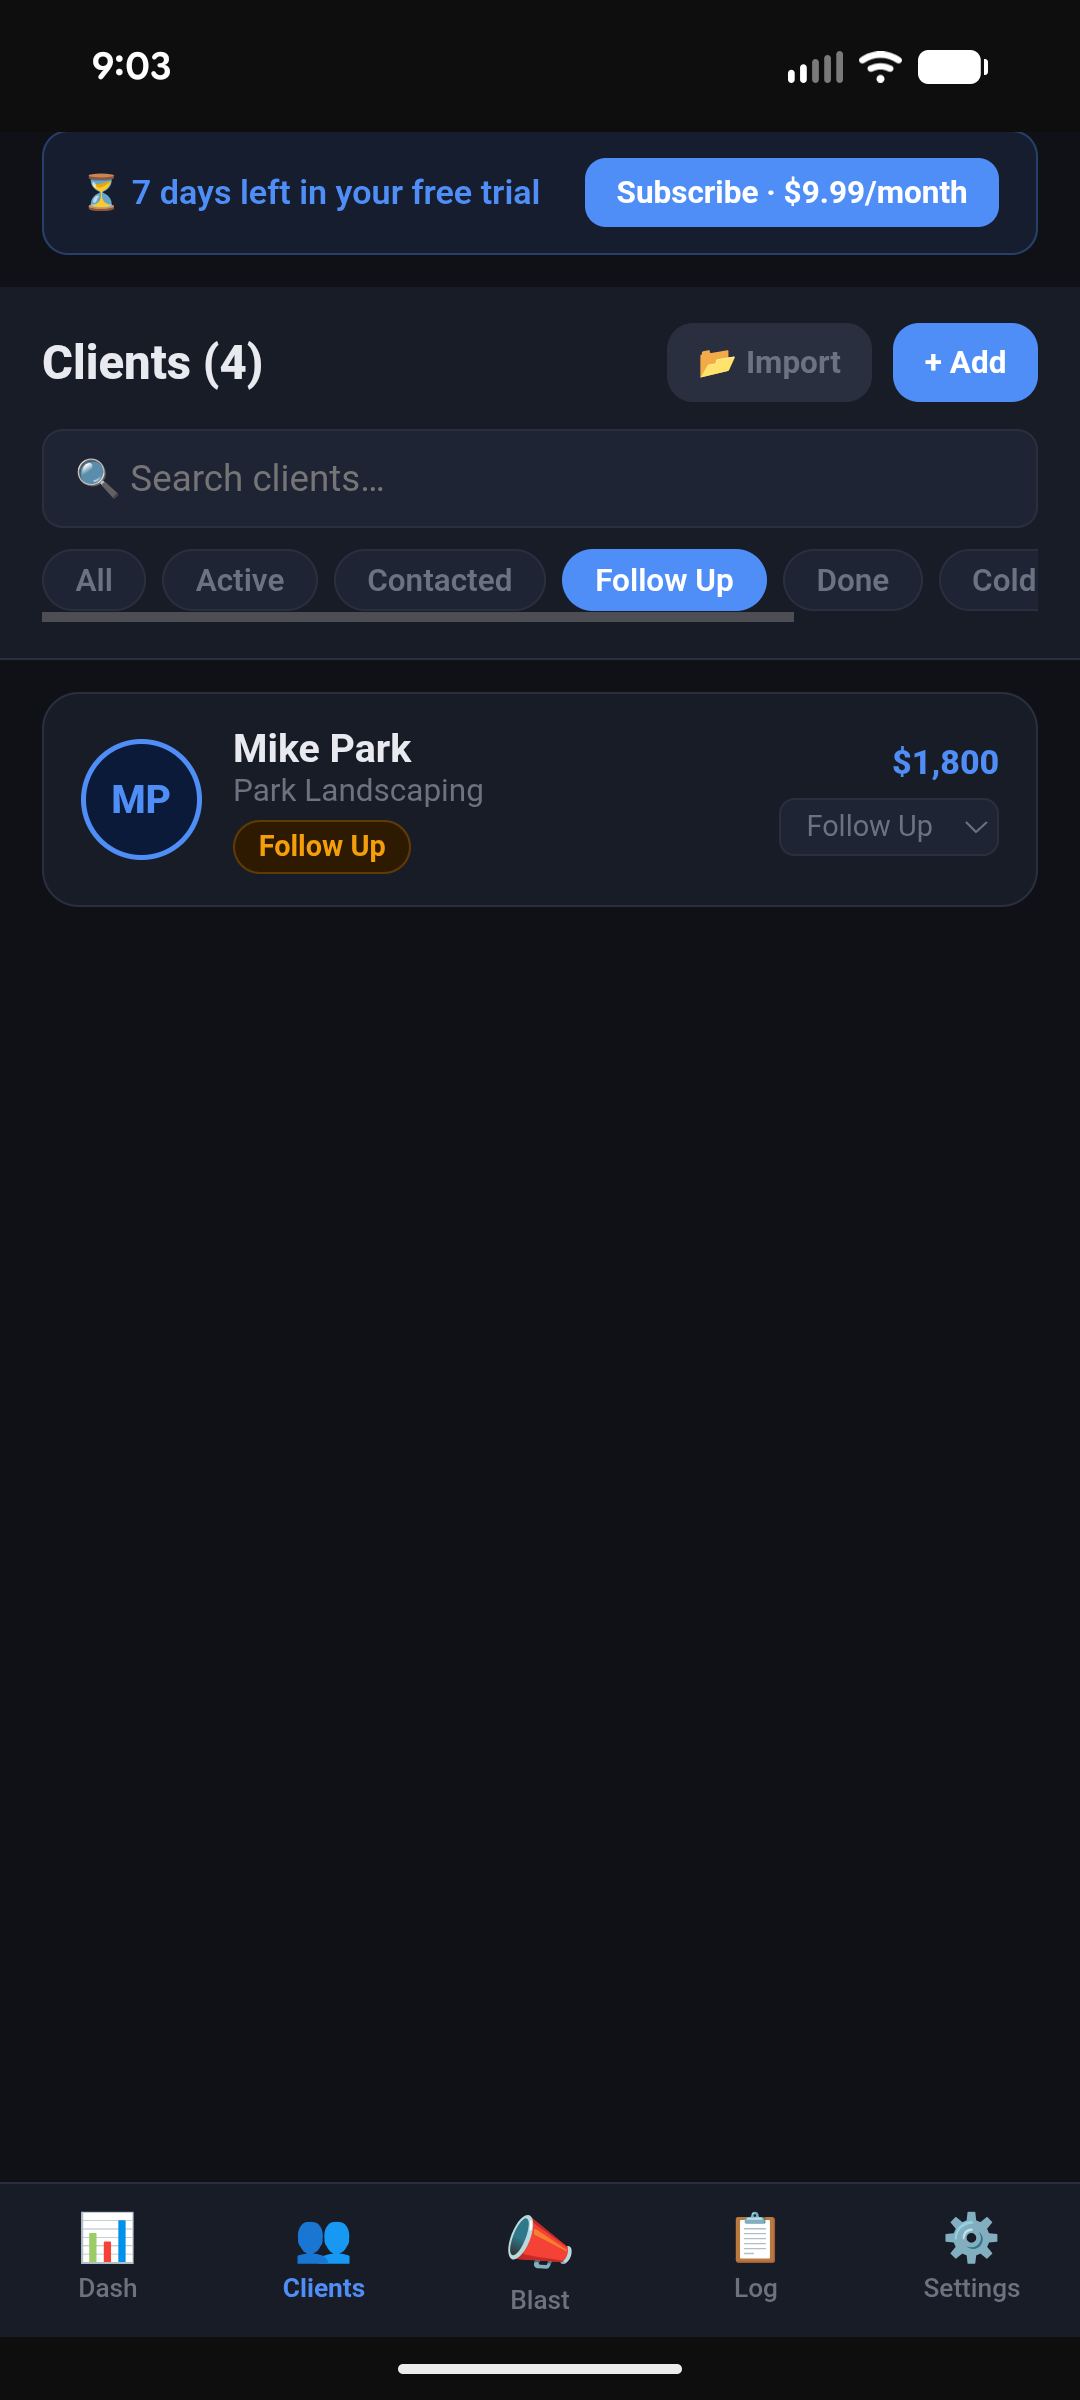
Here's what each status filter looks like in use:
Tip: The Follow Up tab surfaces anyone you've flagged — including clients with an upcoming follow-up date.
3
Adding a New Client
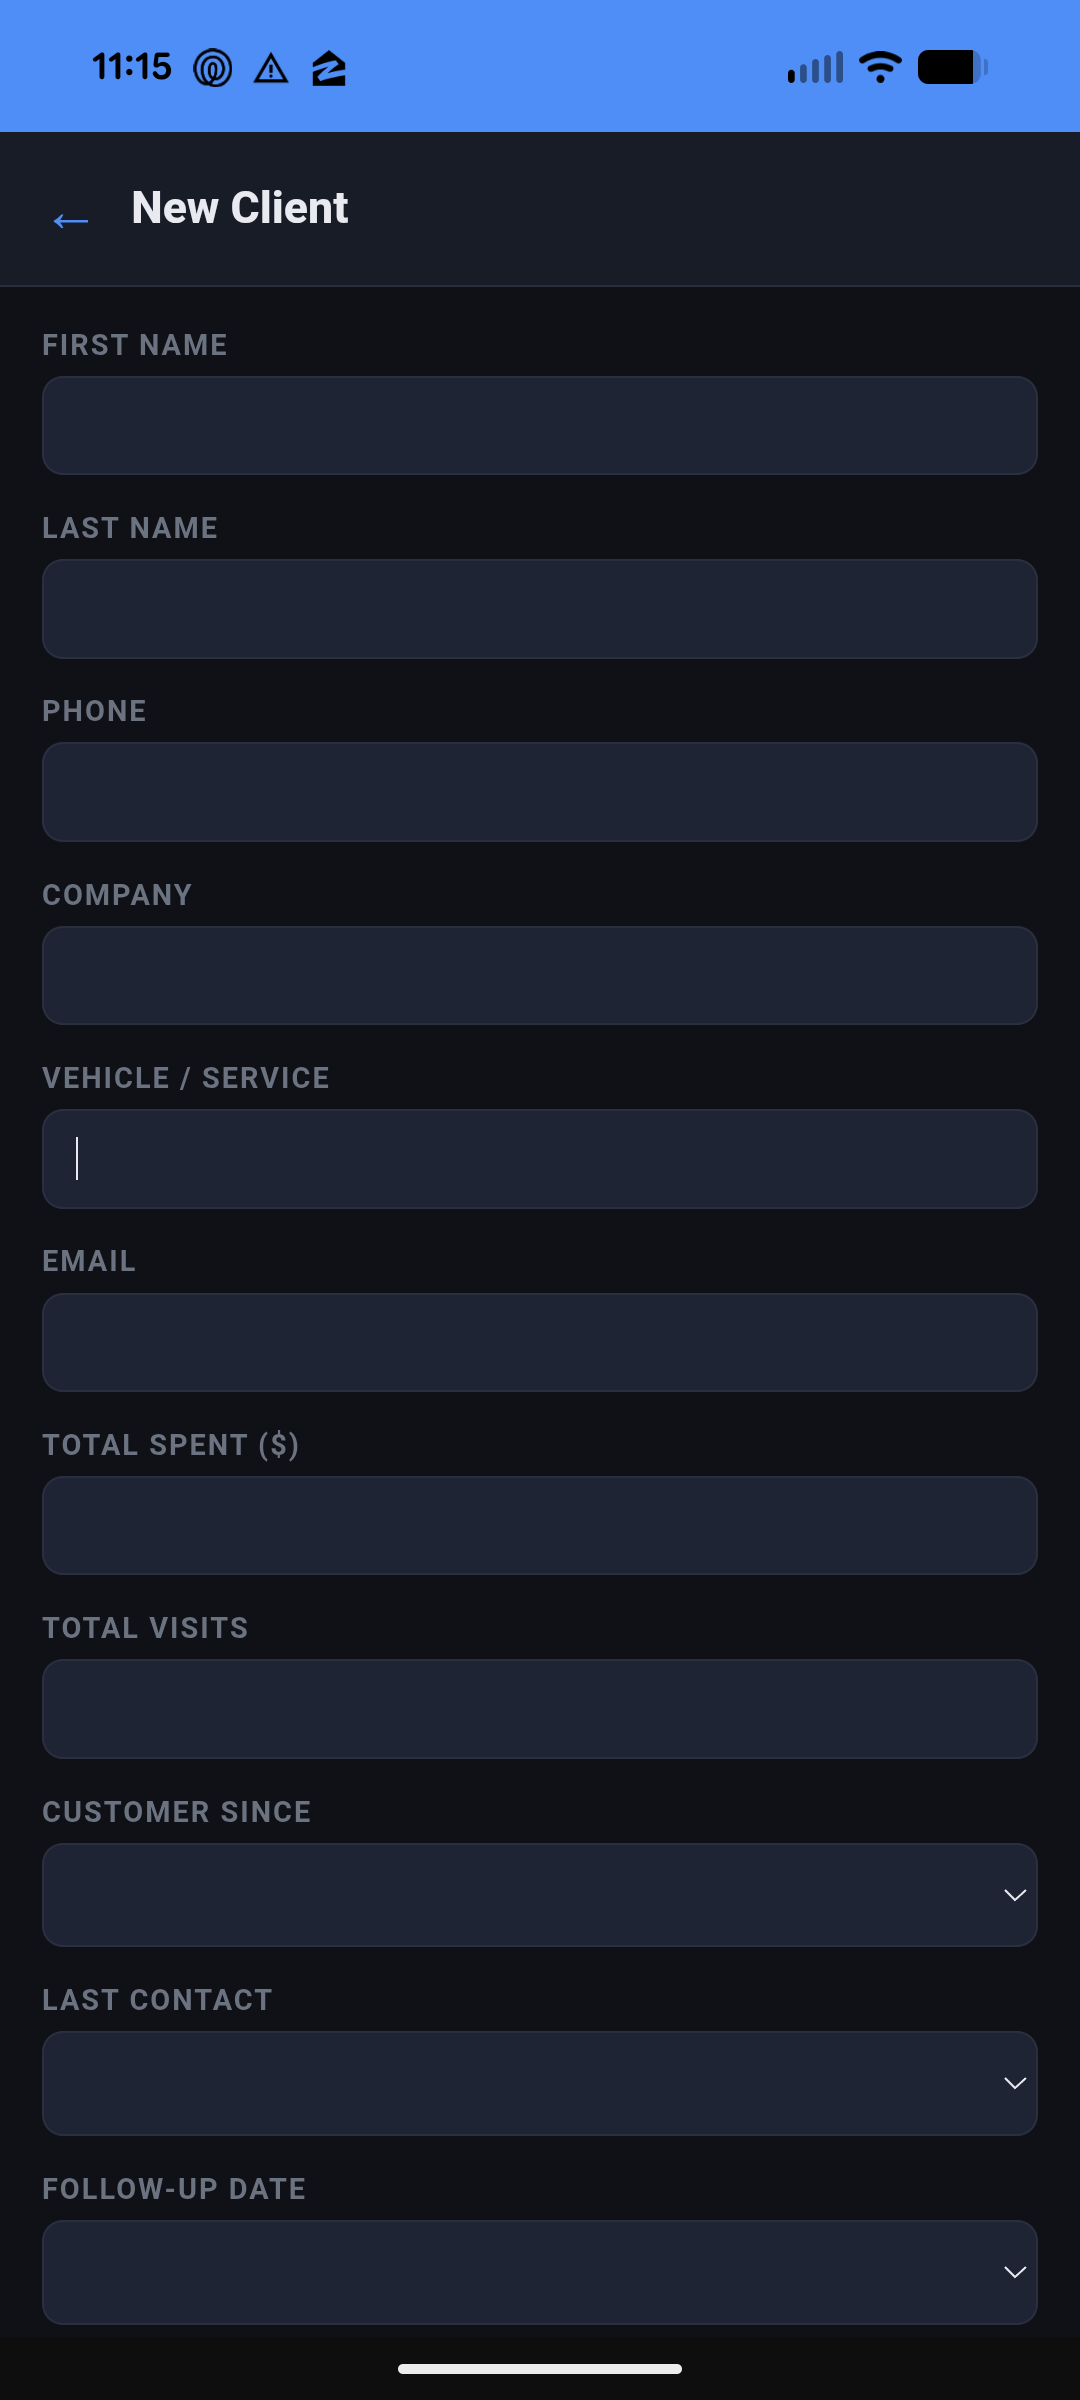
Tap the + New Client button to open the add form. Fill in as much or as little as you have — only a name is required to get started.
1
Name & contact info — first name, last name, phone, email.
2
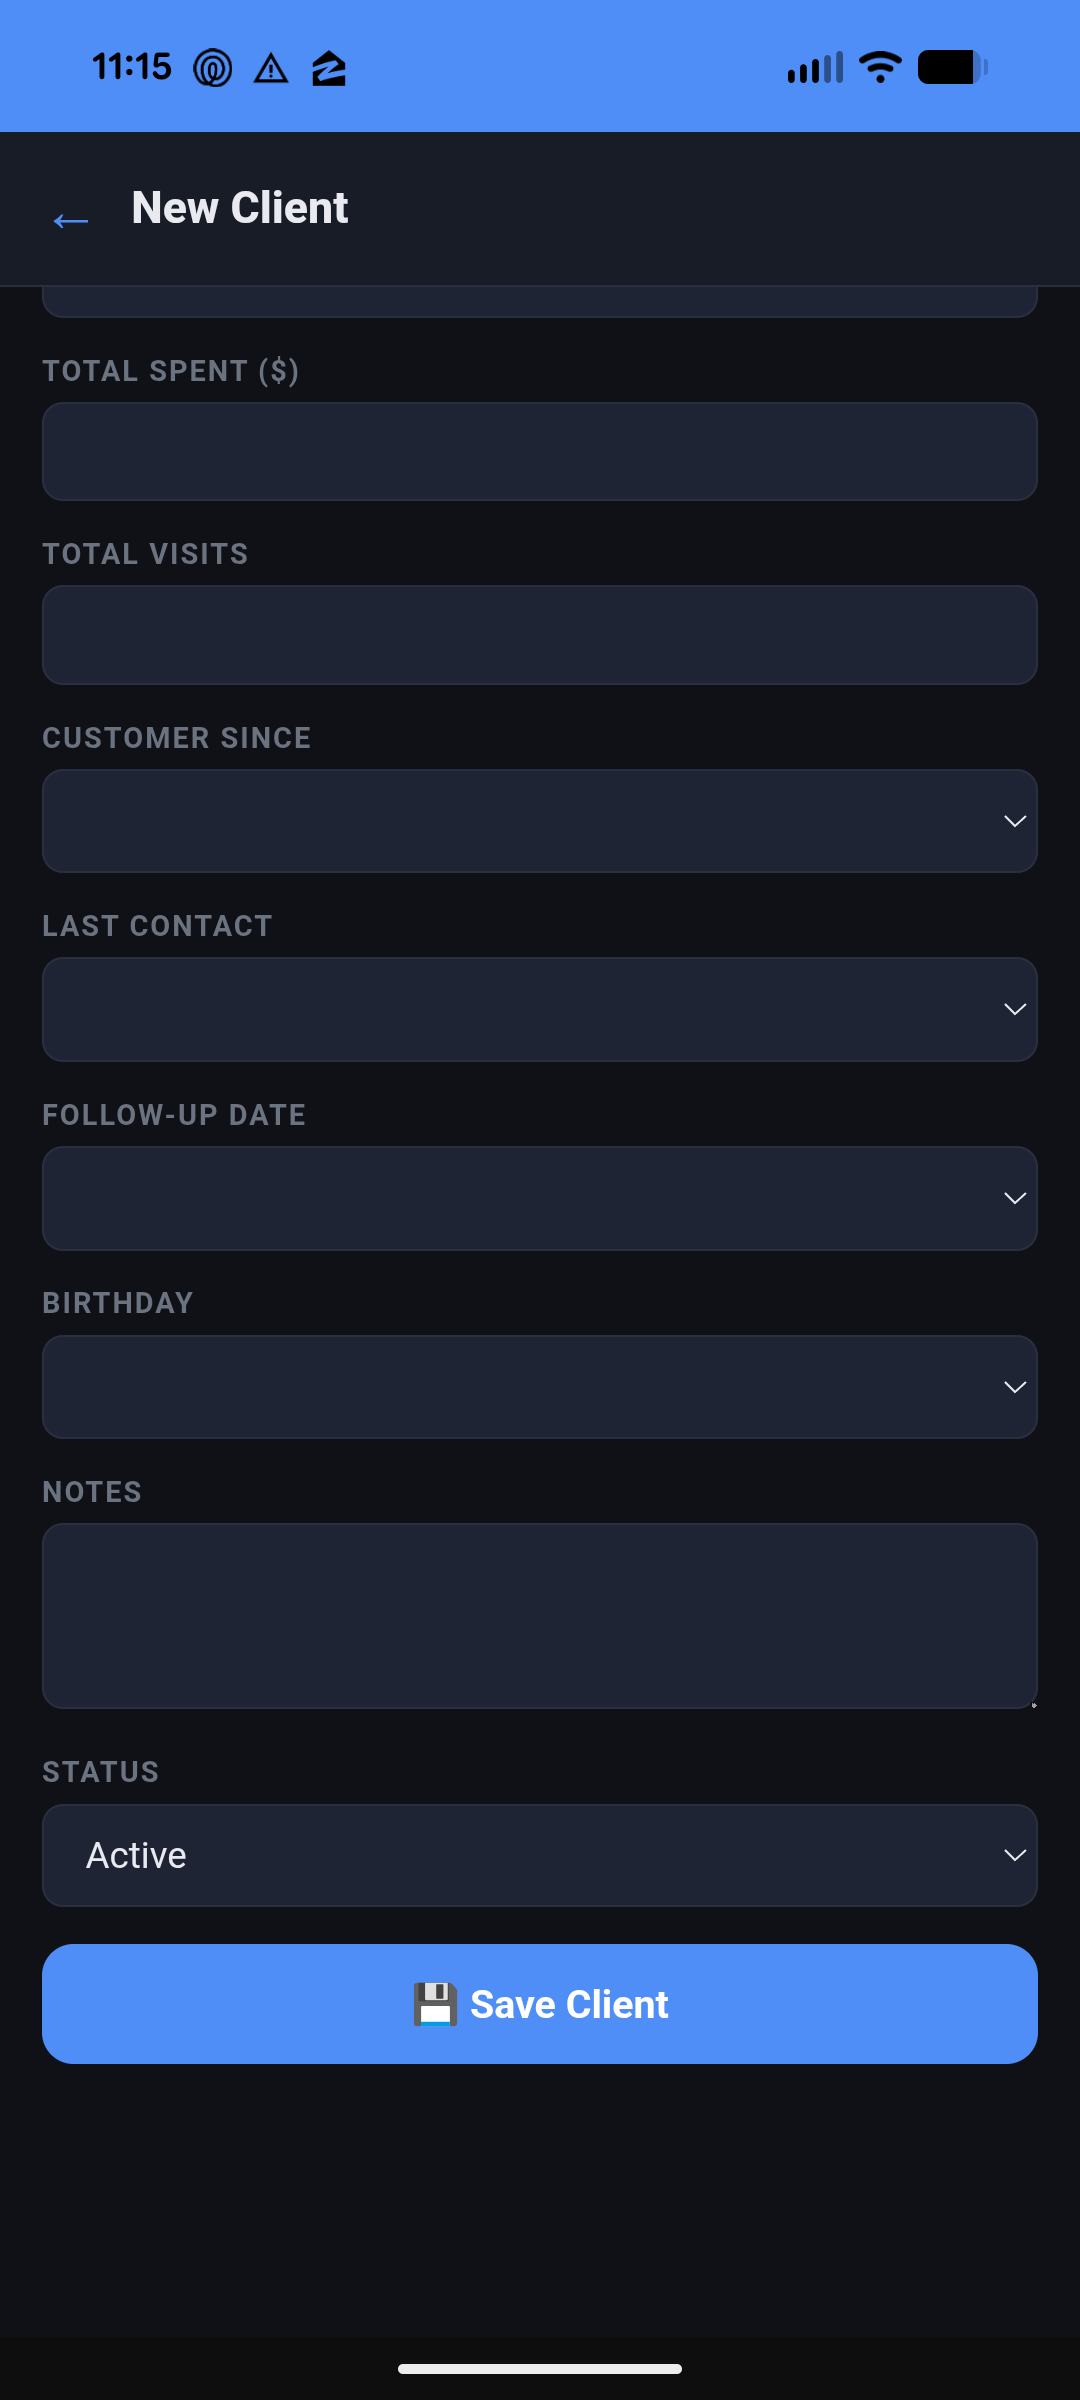
Status — set to Active, Contacted, Follow Up, Done, or Cold.
3
Total spent & visits — enter their lifetime value so Connekly can auto-assign their tier.
4
Birthday — optional. If set, Connekly automatically adds a follow-up reminder 7 days before their birthday each year.
5
Follow-up date — optional. If set, the client appears in your Dashboard follow-up list on that date.
6
Tap Save Client — they're added to your list immediately.
4
Importing Contacts from Excel
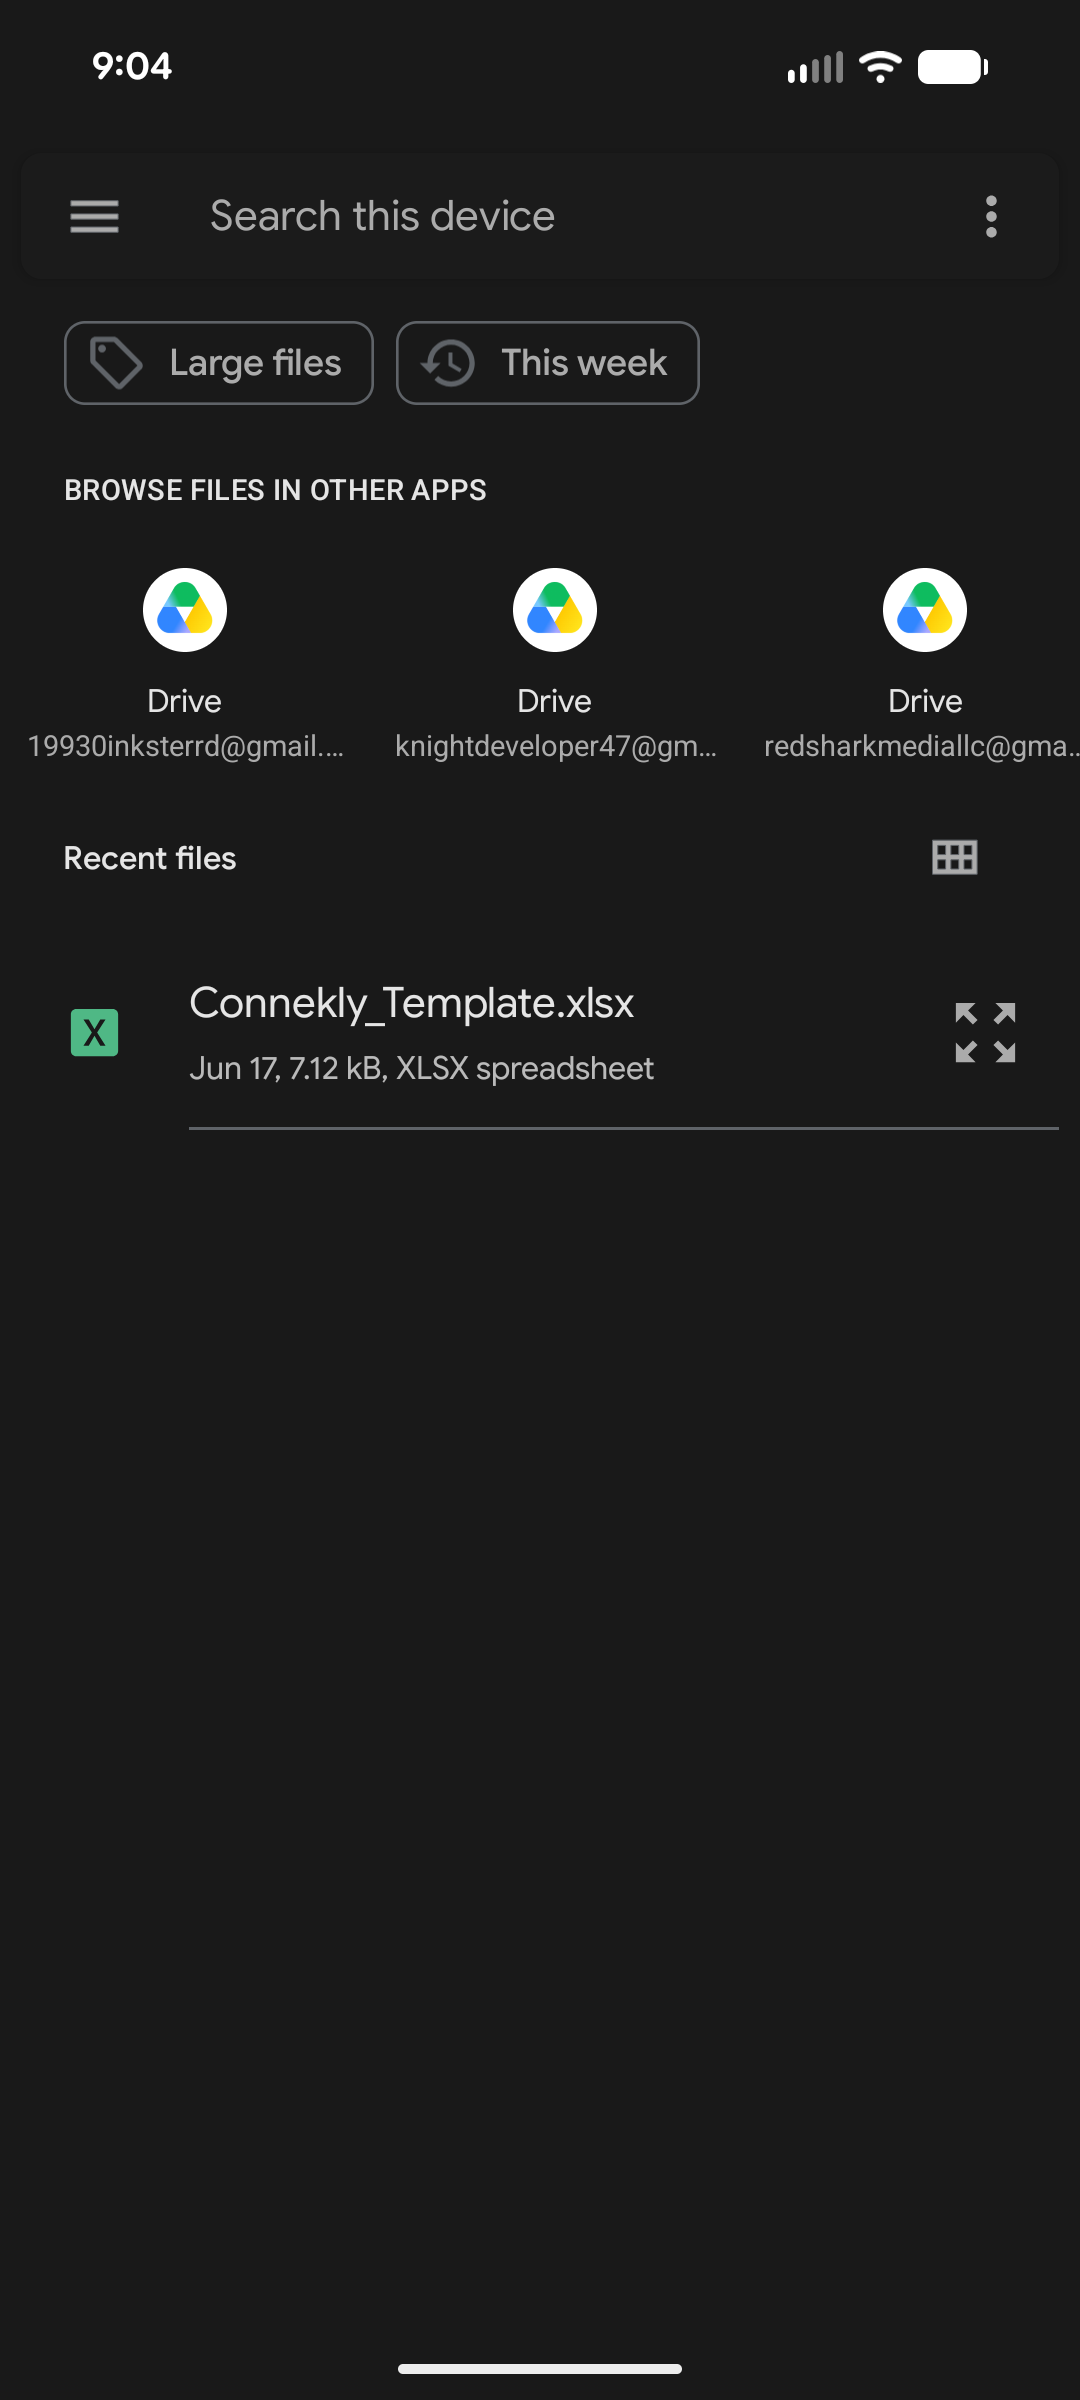
Have an existing client list? Import it in seconds using the Connekly Excel template. On re-import, Connekly matches by phone number — updating existing clients and adding new ones automatically.
1
Go to Settings and tap Download Template to get the Excel file.
2
Fill in your client data — one row per client. Do not rename the column headers.
3
Back in Settings, tap Import Contacts and select your file.
4
Review the change log — Connekly shows exactly what was added or updated before saving.
Phone number = unique ID. Connekly matches contacts by phone. If a contact's phone changed, edit it manually in their profile first, then re-import to keep everything in sync.
5
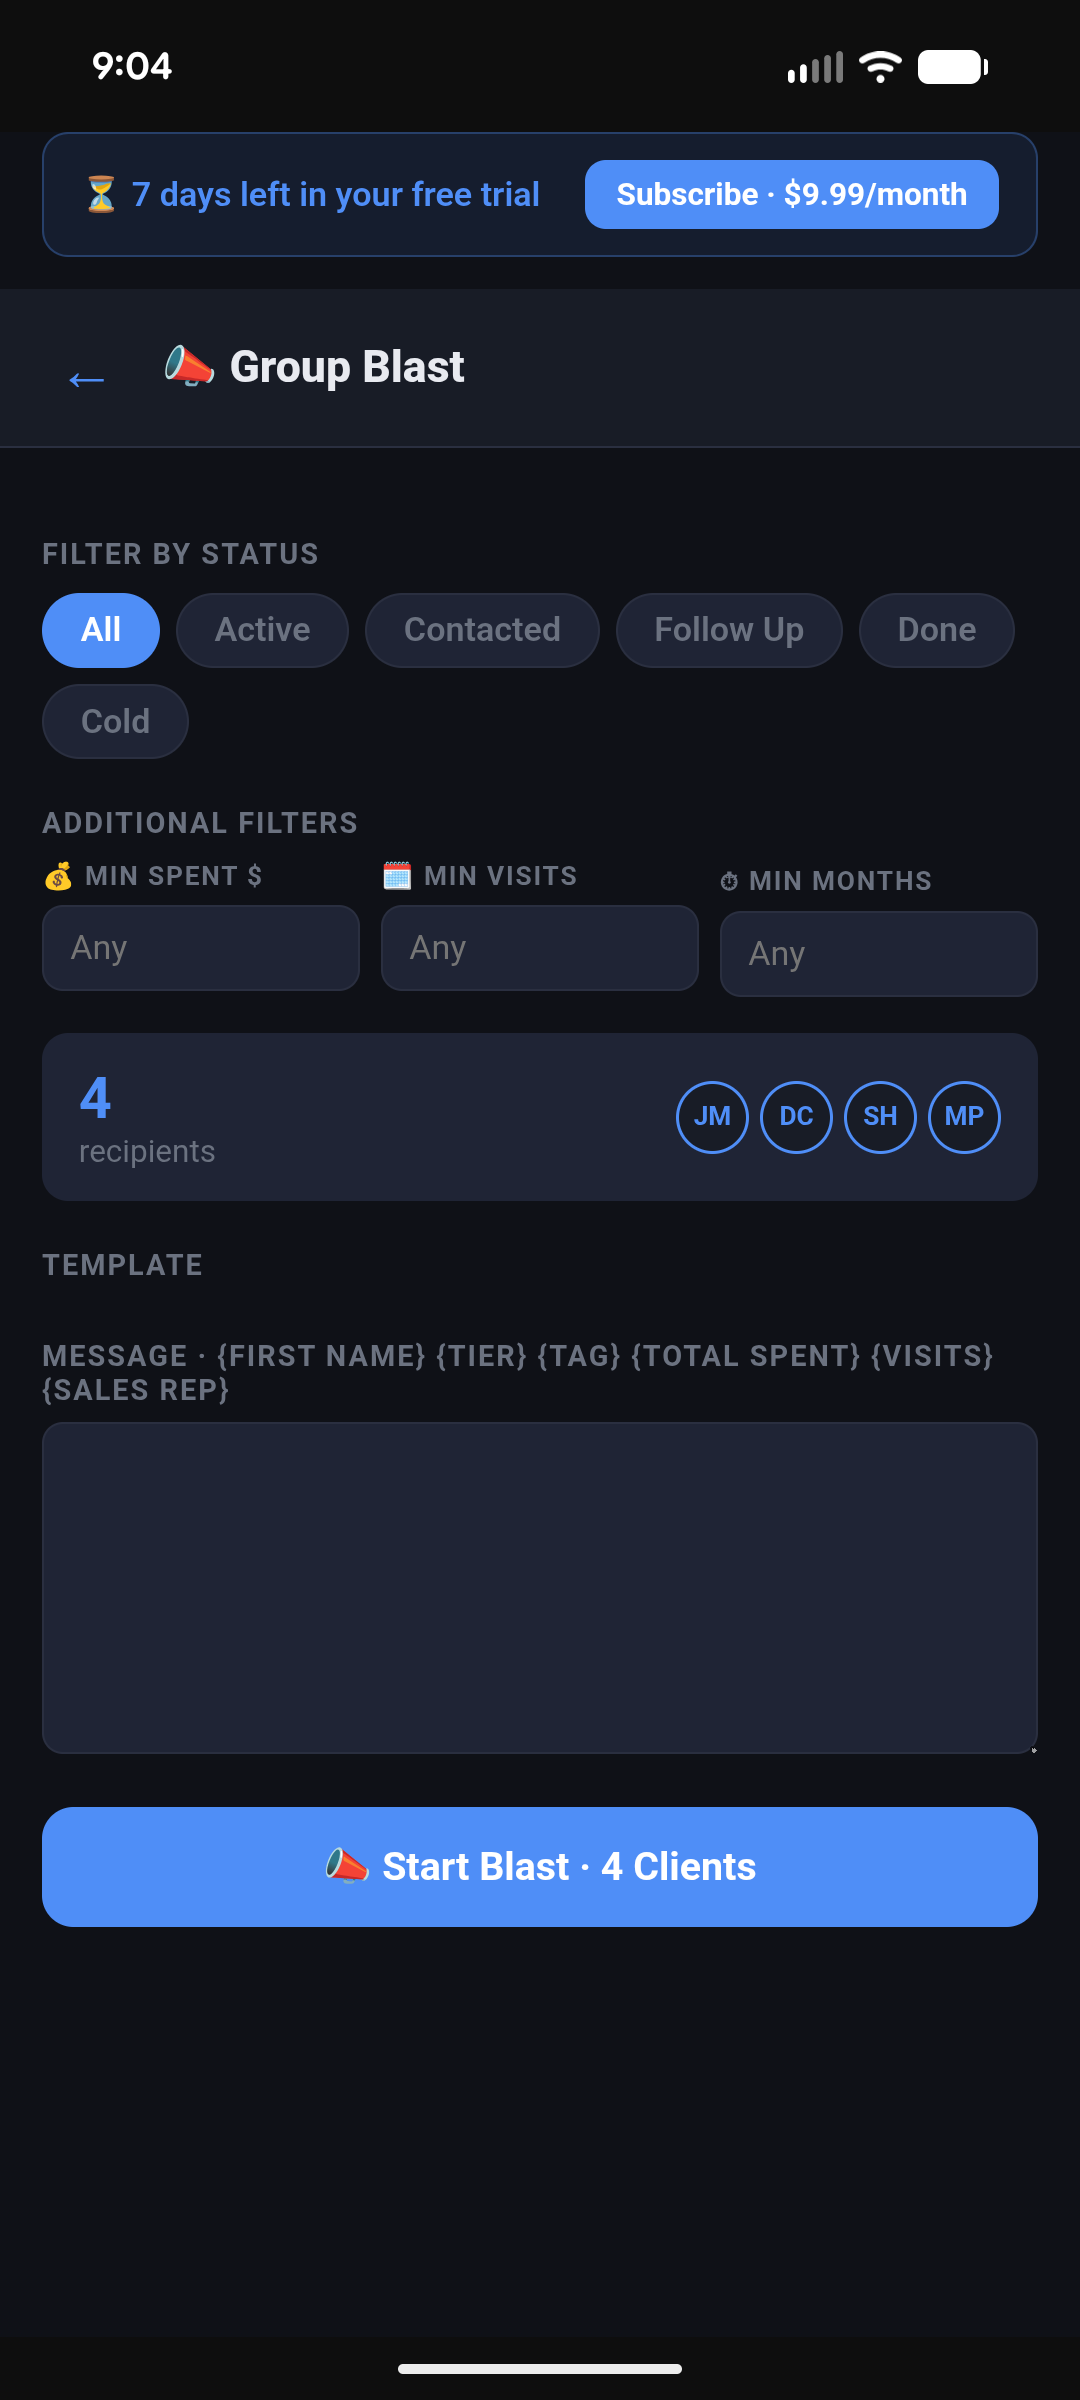
Group Blast — Text Your List
Group Blast lets you send a personalized text to a filtered segment of your clients — one tap per person, no copy-paste needed.
1
Choose a filter — target by status (Active, Follow Up, etc.) or by spend tier.
2
Write your message — or pick a saved template. Use {"{firstName}"} and it auto-fills their name.
3
Tap a contact to open iMessage (or your default SMS app) with the message pre-filled.
4
Hit send, come back, tap the next name. Work through the list at your own pace.
Tip: After blasting, update each contact's status to Contacted so you know who you've reached this cycle.
6
Activity Log
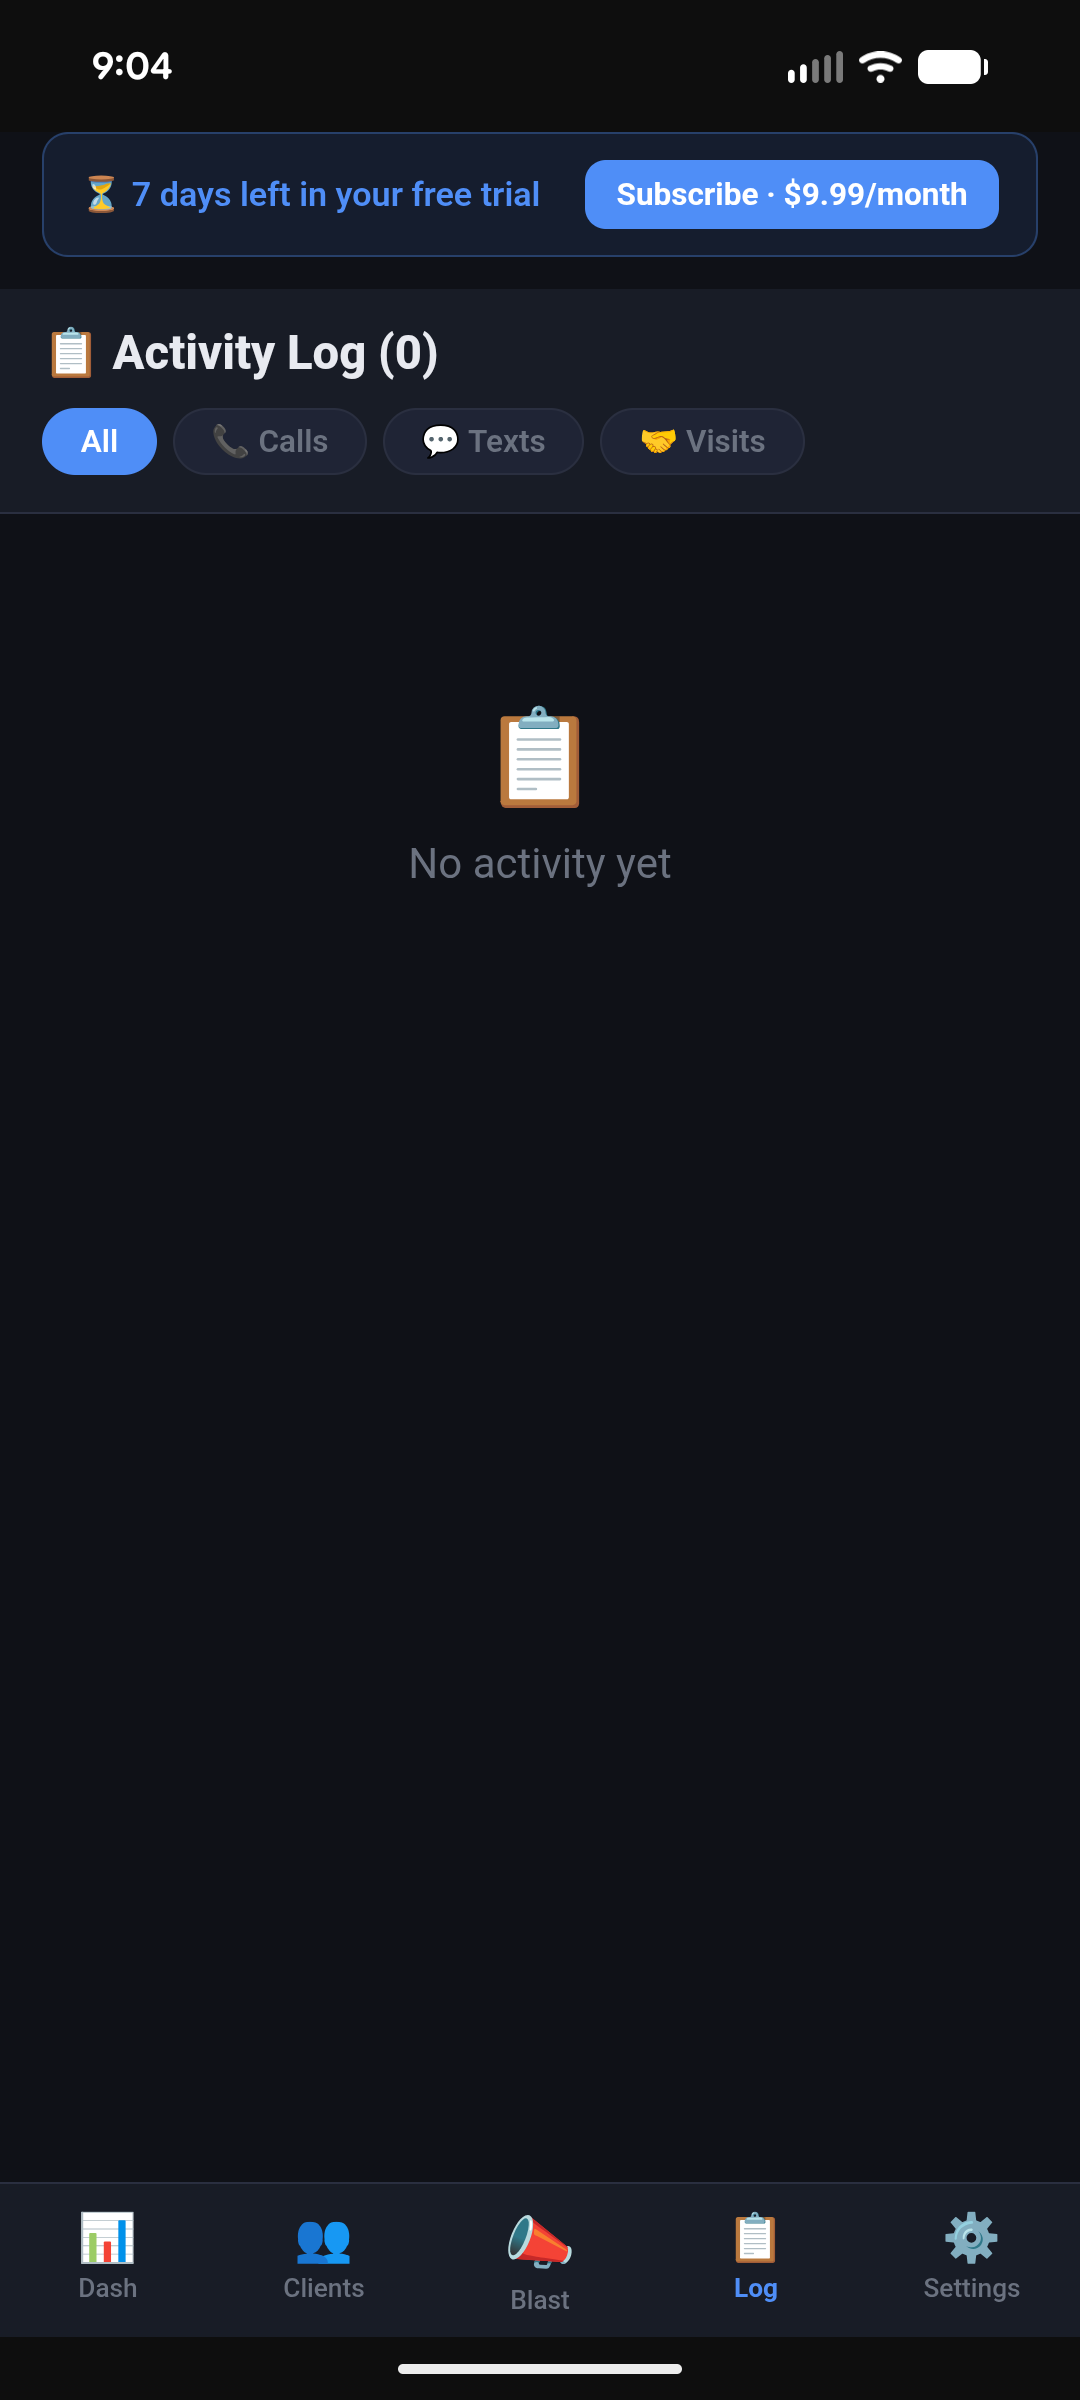
The Activity Log records every call, text, visit, and note you log against a contact. It's your paper trail — great for remembering where you left off with someone.
→
Open a client's profile and tap + Log Activity to add a call, text, visit, or note.
→
All activity is timestamped and shown in the log in reverse chronological order.
→
The Activity tab in the bottom nav shows your most recent logs across all clients.
7
Settings & Export
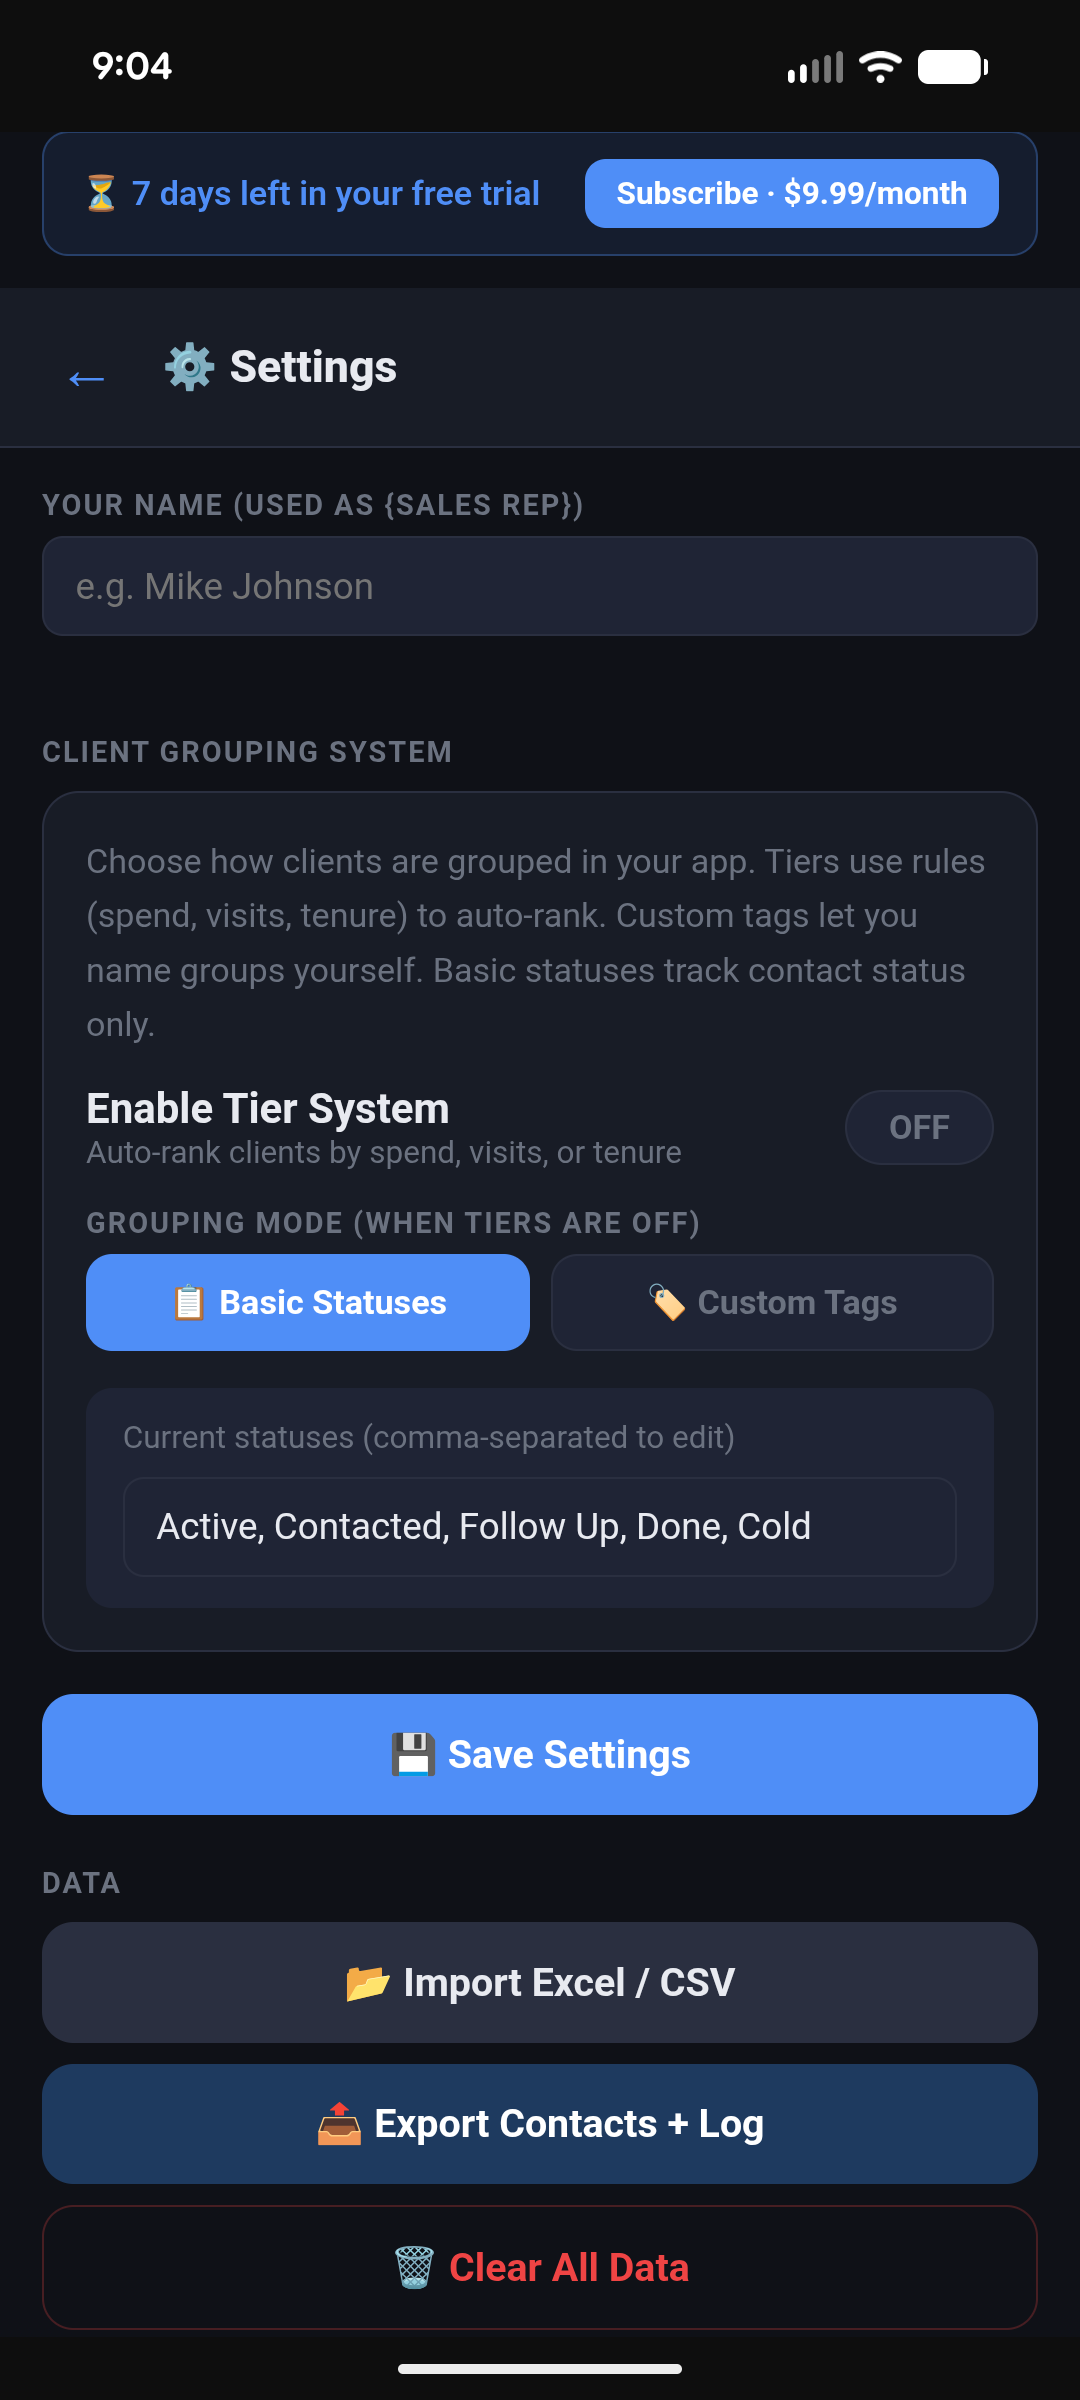
Settings is where you manage your tier thresholds, export your data, and import contacts.
→
Tier thresholds — set the spend amounts that define Bronze, Silver, Gold, and Elite. Connekly auto-assigns tiers as you update client spend.
→
Export Contacts — download your full client list as an Excel file. Do this before switching phones.
→
Import Contacts — load a filled-out template to add or update your list in bulk.
→
Message Templates — save reusable messages for Group Blast. One template per tier.
Switching phones? Export your contacts from Settings, install Connekly on your new phone, and Import the file. All your clients transfer instantly.